As the sun sets, a warm nostalgic glow seems to envelop the room. A dust-ridden, familiar black box stands on the shelf, its three-button controller splayed out like an open invitation. Yes, it’s none other than the Sega Genesis, a relic from a bygone era, an artifact of our childhood, a testament to the birth and growth of the digital gaming world. Our fingers still remember the rhythmic dance on the controller, our hearts still race with the memory of the epic Sonic vs. Robotnik battles, and our minds still treasure the countless hours we spent on Streets of Rage, Mortal Kombat, or NBA Jam.
In the rapidly evolving world of gaming, it’s easy to be swept away by the tide of VR, AR, next-gen consoles, and cutting-edge graphics. But for the true enthusiasts among us, there’s a unique thrill and sense of fulfillment in returning to the roots. To honor this sentiment, this comprehensive article aims to be your ultimate guide to “Reviving Your Sega Genesis: The Ultimate Restoration Checklist for Retro Gaming Success.”
In the words of the legendary video game designer, Shigeru Miyamoto, “Video games are bad for you? That’s what they said about rock and roll.” And just like rock and roll, the Sega Genesis with its 16-bit glory, refuses to fade away. A part of our mission here is to breathe new life into your Sega Genesis, restore it to its original state and ensure its longevity for many more gaming sessions. Whether you’re a seasoned gamer aiming to revisit the classics, a hobbyist seeking a new project, or a retro game collector looking to enhance your collection, this guide has something for everyone.
The journey ahead is a comprehensive one. Starting with an overview of the Sega Genesis and its place in gaming history, we’ll proceed towards the essential tools and skills needed for its restoration. We’ll explore the various hardware and software issues that your console may face and provide detailed guidance on how to diagnose and fix them. From there, we will delve into the process of cleaning and maintaining your Sega Genesis to ensure its long-lasting performance.
Finally, we’ll conclude with tips on the best ways to store and preserve your console to safeguard it against potential damages. So, fasten your seatbelts and prepare for an exciting ride back in time. Allow this nostalgia-infused journey to remind you of the charm and joy that the Sega Genesis brought into our lives and continues to offer to the generations of gamers to come. After all, old is gold, and in the realm of retro gaming, the Sega Genesis is a glittering treasure chest waiting to be rediscovered. Let’s dust off the cobwebs and reboot the past for a successful gaming future!
Understanding the Sega Genesis System
Initially released in 1988, the Sega Genesis, also known as Mega Drive, established itself as one of the key players in the 16-bit era of video game consoles. Its rich library of games and revolutionary hardware architecture set a high standard in the industry. With time, however, these classic machines may require some attention to maintain their optimal performance. If you’re a retro gaming enthusiast who wants to restore a Sega Genesis to its former glory, you’re in the right place.
Before diving into the restoration checklist, it’s crucial to have a basic understanding of the system’s architecture. The Sega Genesis operates using two main processors, a Motorola 68000 main CPU, and a Zilog Z80 secondary CPU. The system also includes a Video Display Processor (VDP) for graphics generation, and a Yamaha YM2612 sound chip for audio production.
Moreover, the console’s physical design is another aspect that made it stand out. With its sleek black casing and red highlights, the Genesis has a distinctive aesthetic that retro gamers love. Now, with this basic understanding of the system, let’s delve into the restoration process.
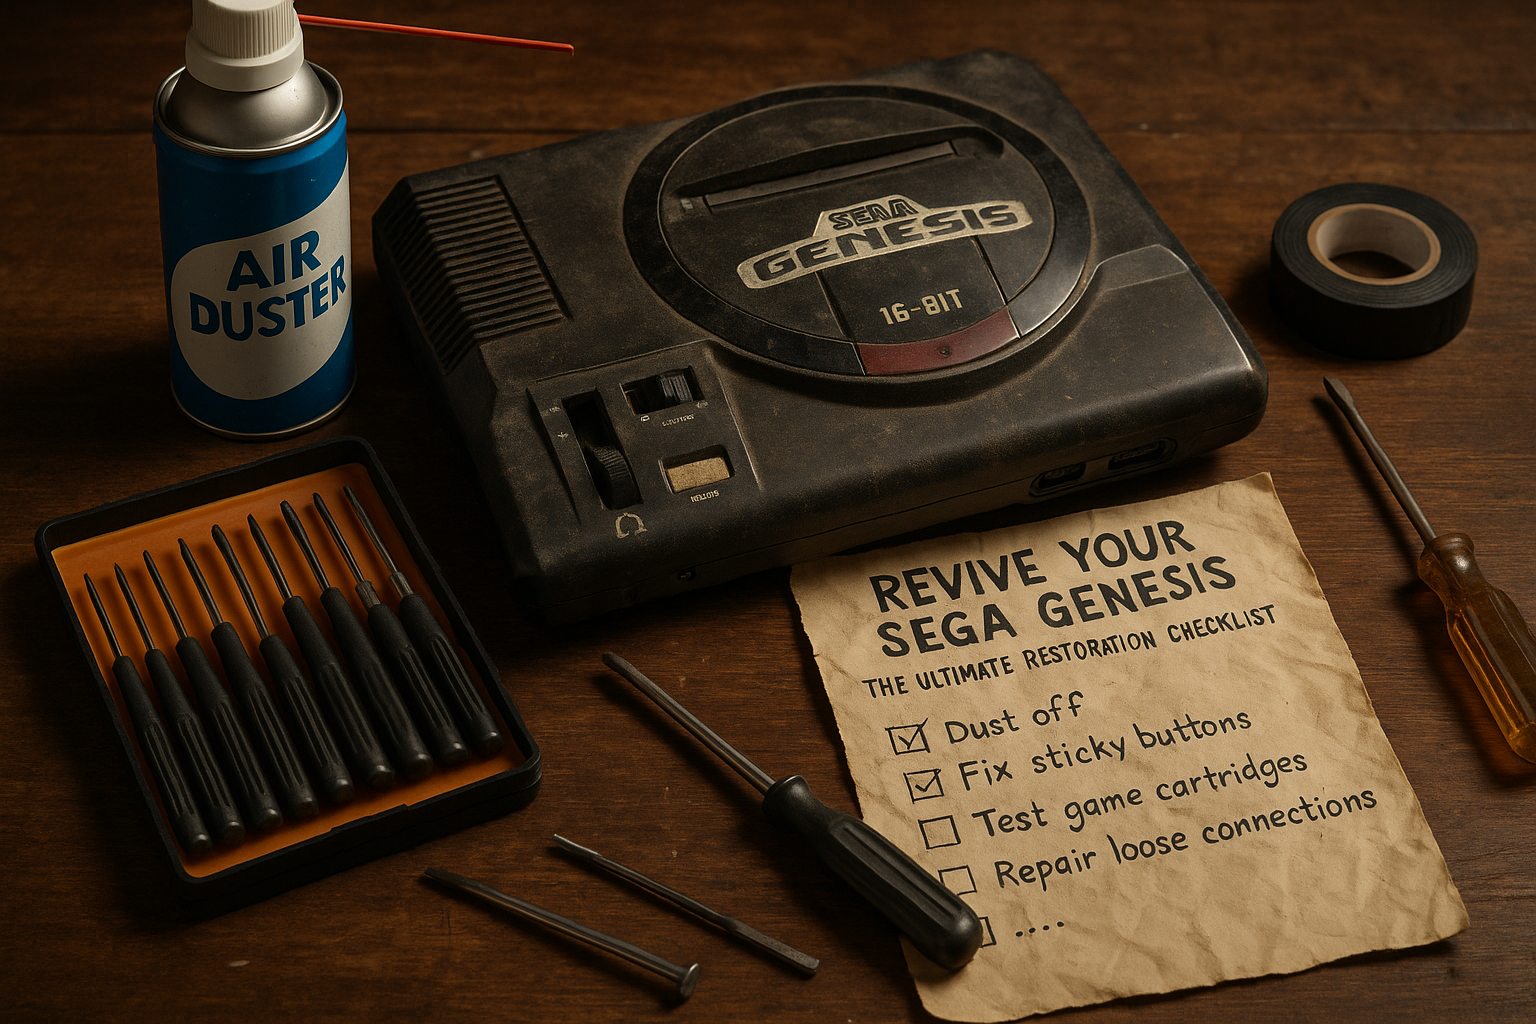
The Ultimate Restoration Checklist
1. Cleaning the Exterior
Over the years, your Sega Genesis may have gathered dust, grime, and perhaps even some stubborn stickers. Therefore, the first step in your restoration journey should be a thorough cleaning of the console’s exterior. You can use a mild detergent solution and a soft cloth for this task. Be sure not to get any water into the system’s internals.
2. Cleaning the Interior
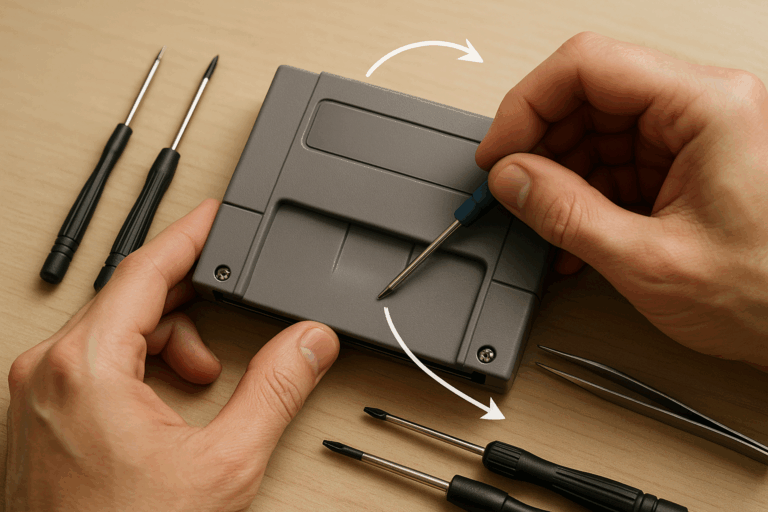
Once the exterior is spick and span, it’s time to delve into the console’s internals. Ensure to unplug the system and remove any cartridges before opening it up. You can use compressed air to remove dust and a soft brush to gently clean the components. Pay special attention to the cartridge slot, as this area can often harbor dirt that may affect game performance.
3. Checking and Repairing the Hardware
Now, it’s time to inspect the system’s hardware. The capacitors are the most common component to fail over time, so be sure to check these first. If you notice any bulging or leakage, you’ll need to replace them. Other components to check include the power switch, controller ports, and the audio and video outputs. If you’re not comfortable with this task, consider seeking help from a professional.
Enhancing Your Sega Genesis Experience
1. Modifying the System
Once you’ve restored your Sega Genesis to its original condition, you might want to consider a few modifications to enhance your gaming experience. For example, you could add an HDMI output for modern TV compatibility, or you could install a region-free BIOS to access games from different regions. Please note that these modifications require technical expertise and can void the system’s warranty, so proceed with caution.
2. Getting the Right Accessories
A Sega Genesis console is nothing without its controllers and games. Therefore, you should also consider restoring or replacing these items. For controllers, you can opt for original Genesis controllers for authenticity, or modern replicas for a more comfortable gaming experience. When it comes to games, it’s all about personal preference. However, some must-have titles include Sonic the Hedgehog, Streets of Rage, and Mortal Kombat.
3. Preservation Tips
Finally, to ensure the longevity of your restored Sega Genesis, follow these preservation tips. Always store the system in a cool, dry place away from direct sunlight. Ensure to clean the console regularly, especially the cartridge slot. Additionally, avoid using third-party power supplies as these can potentially damage the system.
For a comprehensive guide on restoring your Sega Genesis, check out this video by “The Retro Future” on YouTube: “How to CLEAN and RESTORE a Sega Mega Drive – Vintage Console Restoration & Repair”.
Conclusion
In sum, the restoration of a Sega Genesis can be a labor of love, a rewarding journey that not only serves to preserve a part of video gaming history, but also offers a personal satisfaction that only a hands-on project can provide. This article aimed to offer an exhaustive look into the Sega Genesis System – understanding its unique architecture, appreciating its iconic design, and giving practical advice for its restoration and preservation.
Initially, we delved into the foundational elements of the Sega Genesis, exploring the system’s inner workings, from its dual CPU setup and graphics generation to its audio production capabilities. This was followed by an examination of its distinctive aesthetic, a design that has resonated with gamers across the globe and continues to be a beloved feature.
We then offered a comprehensive restoration checklist, detailing the processes of cleaning both the exterior and interior of the console, and guiding you through hardware checks and potential repairs. The goal was to provide you with the necessary knowledge to restore your Sega Genesis to its prime condition and keep it running optimally.
However, restoring the console is just the beginning. We went further to suggest ways to enhance your Sega Genesis gaming experience, from potential system modifications, like adding an HDMI output for modern TV compatibility, to choosing the right accessories for a more authentic or comfortable gaming session. We also provided preservation tips to ensure the longevity of your Sega Genesis, a crucial element in maintaining the value of your restored console.
Lastly, we compared different Sega Genesis models, highlighting the unique features and considerations for each model’s restoration. This is a key part of the restoration process as understanding your specific console’s features and quirks will greatly assist in ensuring a successful project.
Ultimately, whether you’re a seasoned retro gamer or a newcomer to the scene, the restoration of a Sega Genesis offers a unique opportunity to connect with the past while building skills for the future. We hope this article serves as a comprehensive guide for your Sega Genesis restoration project and inspires you to dig deeper into the world of retro gaming. We encourage you to share your experiences, engage in discussion, and spread the knowledge you’ve gained from this article. If you’re interested in diving deeper into the topic, feel free to explore the history of Sega, learn more about the Sega Mega Drive, or watch a detailed console restoration video.
In the end, remember that it’s not just about bringing an old console back to life – it’s about reliving a piece of history, celebrating innovation, and sharing a common passion for gaming. With your newly restored Sega Genesis, may every game take you on a nostalgic journey, and may every play remind you of the wonder of technology. Happy gaming!