Have you ever noticed how your once sparkling white vintage electronics slowly turn to a dull, yellowed hue over time? The once vibrant, shiny white surface of your cherished Commodore 64, PlayStation, or Sega Genesis now sadly mimics the colour of a smoker’s teeth. In the world of vintage electronics, this unfortunate phenomenon is called “plastic yellowing”, and it has been a thorn in the side of collectors and enthusiasts alike. But there’s good news. Welcome to the world of Retr0bright – a unique solution that restores your vintage electronics to their original, pristine condition. In this comprehensive article, we will take a deep dive into the miracle of Retr0bright and how it can breathe new life into your beloved gaming consoles and other vintage electronics.
The ageing of plastic is a natural and inevitable process. Over time, the bromine used as a fire retardant in the manufacturing process of these electronics reacts with the plastic casing’s molecules, causing a chemical reaction that turns the plastic yellow. This yellowing process is accelerated by exposure to UV light and heat. In the past, there was not much one could do about this other than accept the inevitable and perhaps cover up the yellowing with a coat of paint. That was until the advent of Retr0bright. This article aims to introduce you to the science behind this impressive product and provide you with a step-by-step guide on how to use it effectively.
While Retr0bright has gained significant popularity in recent years among the retro gaming community, many still remain skeptical or unsure about its efficiency, safety, and long-term effects. This article will dispel these doubts by providing you with a thorough understanding of the chemistry behind Retr0bright, why it works, and how it can help you restore your vintage electronics safely. We’ll explain in detail the processes of UV degradation and oxidation that cause your electronics to yellow and how Retr0bright counteracts these processes.
Moreover, while Retr0bright might seem like a magic potion that can instantly erase years of yellowing, it’s essential to understand that the results can vary based on several factors such as the extent of yellowing, the type of plastic, and the correct application process. We will delve into these aspects, providing practical tips and guidance to ensure you get the best possible results when using Retr0bright on your electronics. By the end of this article, you will be equipped with a robust understanding of Retr0bright and how to use it to its full potential.
The world of vintage electronics is much more than just nostalgia. It’s about preserving and enjoying a piece of history, a slice of our cultural heritage. Retr0bright offers a way to keep this heritage looking as good as the day it was made. It’s a bridge between the past and the present, allowing us to enjoy these iconic pieces of technology in their original, untarnished glory. Whether you’re a seasoned collector, an enthusiastic gamer, or just someone who appreciates the beauty of vintage electronics, this article will provide you with all the information you need to restore your prized possessions to their former glory. Let’s embark on this journey together and say goodbye to yellowing once and for all.
The Science Behind Yellowing of Vintage Electronics
The first step in comprehending the Retr0bright solution for restoring vintage electronics is to grasp why these devices turn yellow in the first place. Over time, many plastic products, including vintage electronics, start to discolor and turn yellow. This is a result of the chemical reaction called “photodegradation.” When exposed to light, especially ultraviolet (UV) light, some substances in the plastic begin to break down and alter the color.
The primary culprit behind this is a flame retardant called bromine, which was added to plastics used in electronics during the 1970s and 1980s. Bromine, when exposed to UV light, can cause the plastic to yellow or even brown over time, resulting in the familiar yellowing seen on many vintage electronics.
In addition to UV light, heat and oxygen can also accelerate the yellowing process. Over time, these factors contribute to the yellowing of vintage electronics, a process known as thermal oxidation. The issue is not just cosmetic, as yellowed plastics also tend to become brittle and may crack or break. Thus, restoring these devices isn’t just about aesthetics; it’s also about preserving these pieces of history.
However, thanks to a solution known as Retr0bright, there’s now a way to reverse this yellowing and return your vintage electronics to their original color. This unique solution leverages the power of chemistry to break down the yellowed compounds and restore the original plastic color, giving your vintage electronics a new lease on life. But how does Retr0bright work? What makes it so effective? Let’s delve deeper into this innovative solution.
The Power of Retr0bright in Restoring Vintage Electronics
Retr0bright is a home-brewed solution that uses hydrogen peroxide, a small amount of an “Oxy” style laundry booster, Xanthan gum, and UV light to reverse the yellowing of plastics on vintage electronics. The hydrogen peroxide acts as a bleaching agent, while the UV light acts as a catalyst, speeding up the reaction. The “Oxy” booster aids in the reaction, and the Xanthan gum helps the mixture stick to vertical surfaces, making it easier to apply.
When applied to the yellowed plastic, the Retr0bright solution starts to break down the bromine compounds causing the discoloration, effectively reversing the yellowing. After a few hours under UV light (either from the sun or a UV lamp), the plastic returns to its original color. This is a significant improvement over traditional cleaning methods, which can often damage the plastic or fail to adequately reverse the yellowing.
Many vintage electronics enthusiasts and collectors have found Retr0bright to be an effective solution for their needs. A comparison of before and after using Retr0bright can provide a clear indication of its effectiveness. For more insights, you may want to watch the video “Retr0bright – Restore Yellowed Plastic to its Original Color!” by channel EEVblog on YouTube.
Steps to Use Retr0bright on Your Vintage Electronics
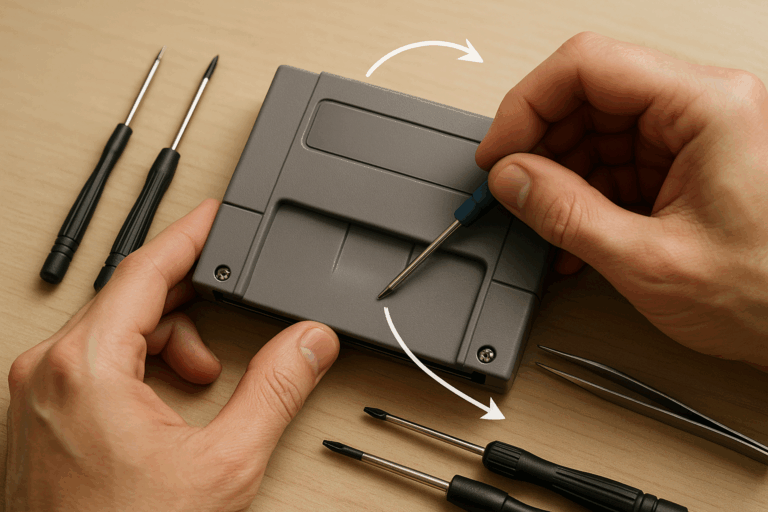
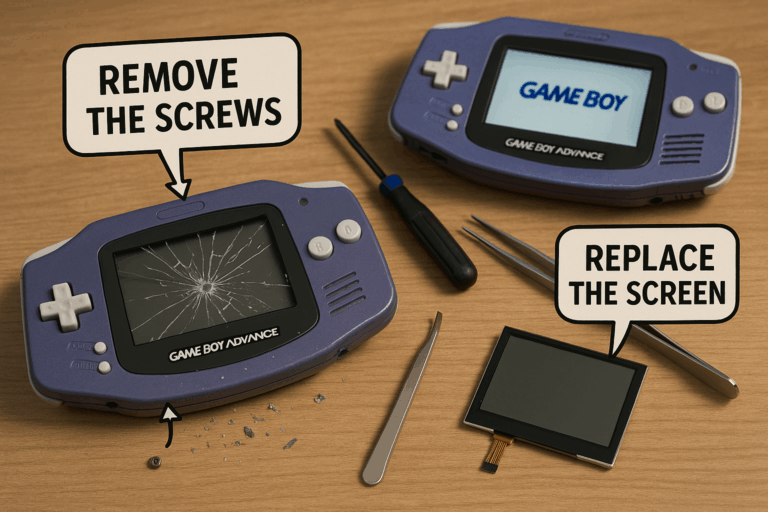
- First, you’ll need to disassemble your device to expose the yellowed plastic parts. This can be a bit tricky, especially with older electronics, so take your time and be careful not to damage any components.
- Next, clean the plastic parts with warm, soapy water. This will remove any dirt or grime that might interfere with the Retr0bright process.
- Prepare the Retr0bright solution by mixing 12% hydrogen peroxide with a small amount of an “Oxy” style laundry booster and Xanthan gum. The exact amounts can vary, but a general guideline is to use about 1/4 cup of “Oxy” booster and 1/2 teaspoon of Xanthan gum for every liter of hydrogen peroxide.
- Apply the Retr0bright solution to the yellowed plastic, making sure to cover all areas. You can use a brush or a spray bottle for this step.
- Place the plastic parts under a UV light source. This can be natural sunlight or a UV lamp. Leave them under the light for several hours, checking periodically to see if the yellowing has been reversed.
- Once the plastic has returned to its original color, rinse the parts thoroughly with water to remove any remaining Retr0bright solution.
- Allow the parts to dry completely before reassembling your device.
And that’s it! With these steps, you should be able to restore your vintage electronics to their original color, giving them a new lease on life. Remember to check out the YouTube video mentioned earlier for more detailed instructions and helpful tips. And don’t forget, Retr0bright is not just for electronics. It can also be used to restore other yellowed plastics, such as toys and kitchen appliances. So, why wait? Give Retr0bright a try and breathe new life into your old treasures!

Conclusion
In conclusion, the degradation of vintage electronics is an inevitable chemical process that involves UV light exposure, heat, oxygen, and the effects of bromine – a flame retardant present in the plastics used in the 70s and 80s. This yellowing is not merely an aesthetic issue, it can also result in the plastic becoming brittle and potentially cracking or breaking. This is a significant issue for collectors and enthusiasts alike, as they endeavor to preserve these pieces of technological history.
However, the innovative solution known as Retr0bright offers an effective method for reversing this yellowing process. The home-brewed concoction of hydrogen peroxide, an ‘Oxy’ style laundry booster, Xanthan gum, and UV light has been proven to break down the bromine compounds causing the discoloration. The application of Retr0bright to vintage electronics has been shown to restore their original color, thus providing these cherished pieces with a new lease of life.
In particular, the YouTube video, “Retr0bright – Restore Yellowed Plastic to its Original Color!” by EEVblog, offers insightful evidence of Retr0bright’s capabilities. The clear visual comparison of before and after using Retr0bright leaves no doubt of its effectiveness in restoring the aesthetic appeal of vintage electronics.
For those who wish to breathe new life into their yellowed electronics, the process of using Retr0bright is fairly straightforward, requiring just a few basic materials and some patience. Following the step-by-step guide provided earlier, users can effectively restore their vintage electronics to their former glory. Moreover, this solution is not limited to electronics. It can be equally effective in restoring other yellowed plastics, including toys and kitchen appliances.
In conclusion, the science behind the yellowing of vintage electronics, though complex, provides us with insights that enable us to combat the issue. Retr0bright is not just a solution, it is a testimony to the power of chemistry in preserving the aesthetics and integrity of objects that hold significant historical value. So, do not let the yellowing of vintage plastics dissuade you. Embrace the power of Retr0bright and restore your cherished pieces to their original state. Feel free to comment or share your experiences with using Retr0bright and let’s preserve our technological heritage together.
Finally, always remember to reference credible sources for your research. As always, our sources of information remain open for further exploration. For more detailed instructions and tips, you can visit EEVblog on YouTube. Happy restoring!
References:
1. Retr0bright
2. “Retr0bright – Restore Yellowed Plastic to its Original Color!” by EEVblog on YouTube